It started with sixty e-readers and a printer that could do better.
LumenLabel is label software for Mac and Windows. Design labels, fill them with Excel or CSV data, prepare shipping PDFs and print with supported thermal printers.
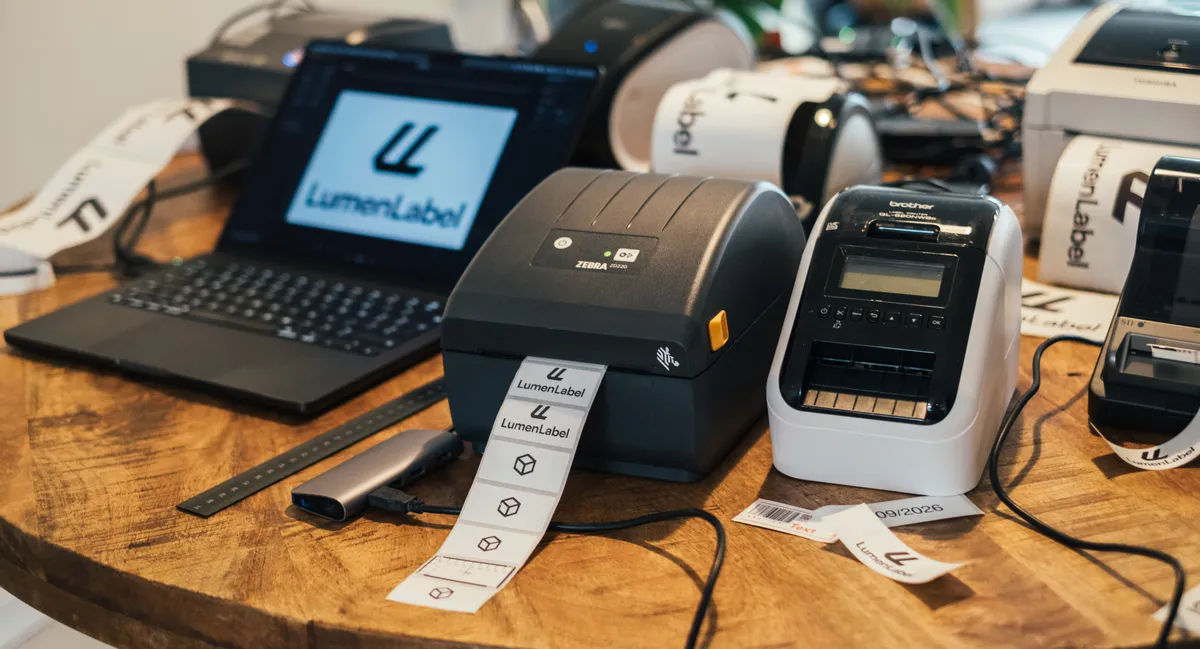
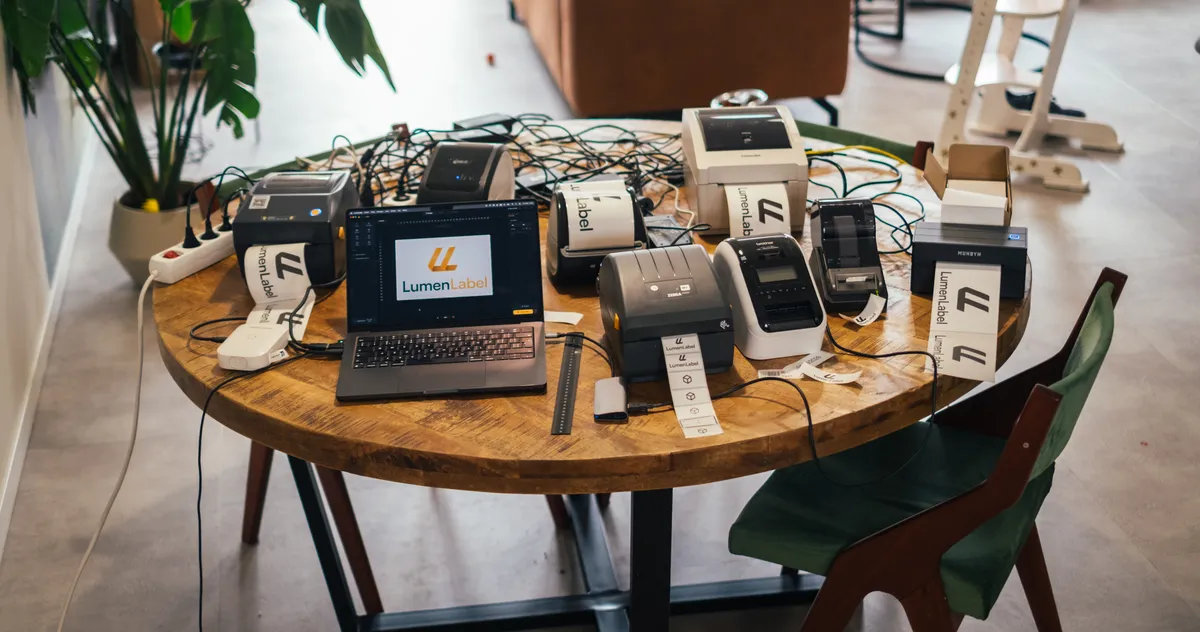
I’m Koert, the person who came up with LumenLabel and builds it. I use AI as a tool while developing the app. The dining table is often covered in printers and a tangle of cables. Physical testing matters to me; it is the only way to see whether the result is actually right.
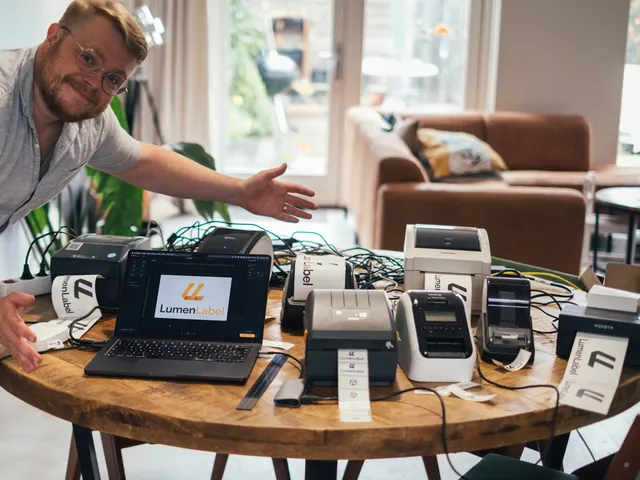
The dining table where LumenLabel is tested: the app on the laptop, the Zebra and the Brother with their test labels.
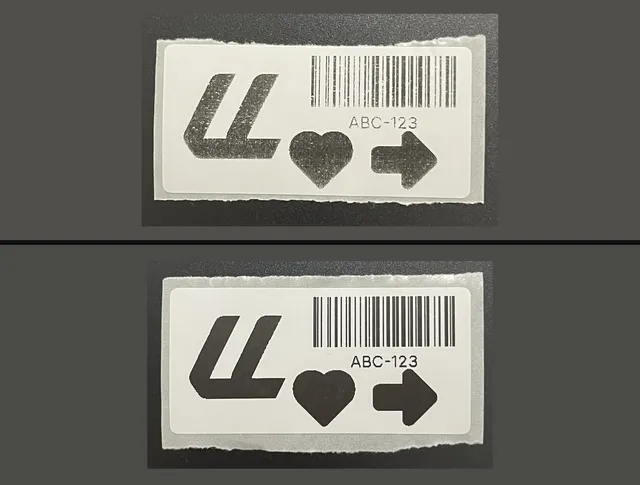
The Zebra printed the PDF faint and grey.
After an auction, there were roll cages full of things outside in the rain. Between the suitcases were about sixty e-readers I wanted to sell. I made a small app to help write the listings and, about a month and a half later, they were gone. Great. It also meant packing sixty parcels and sorting sixty shipping labels.
That is why I bought a Zebra ZD220. Not a cheap little printer, but a solid machine I expected to use for years. I connected it to my Mac, sent it a sharp PDF and got a faint, greyish label back.
The printer could do better. I just could not get that result onto paper through the existing software, so I started looking for the point where the quality was being lost. That is where LumenLabel began.
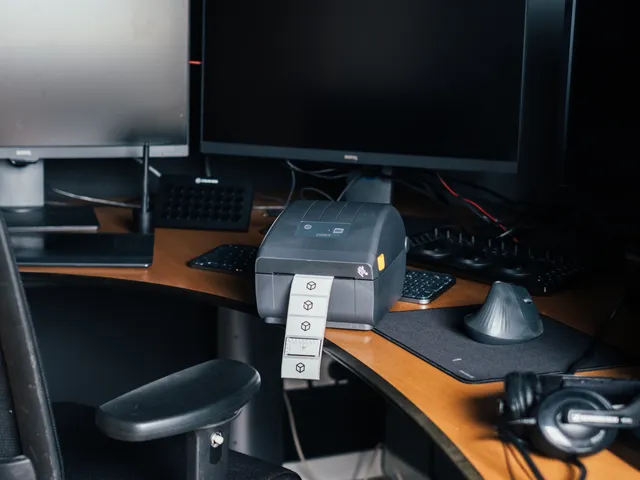
The Zebra ZD220 on the desk, where the first e-reader labels came out.The first grey print above the same test printed from LumenLabel.
First, I only wanted to print my shipping labels properly.
The first plan was narrow: open a shipping label, crop it correctly, rotate it when a carrier supplied it differently and print it sharply. If twenty PDFs were waiting, I wanted to print them in one run.
Once a label prints correctly, you also want to design one yourself, with a barcode, date or product data from Excel. Design, Data and Shipping came together. LumenLabel started with shipping labels and grew backwards into designing them.
The first version printed. Then the code fell apart.
Real labels came out of the printer, which felt amazing. But adding one button could break something somewhere else. I started again. Version two moved faster and briefly felt better, but that foundation did not hold either.
I put the project aside several times and really thought I was done with it. Then I picked it up again.
Version three started with the printers.
Not with the polished app, but with the part that ultimately has to be right. Which exact model is on the other side of the cable? What size is loaded? Which connection is available for that model?
I built and tested the printer profiles first. The interface came afterwards. Models and connections are checked separately, because a similar name does not mean everything works in the same way.
Then that old Toshiba printed from my Mac.
One moment that stayed with me involved an older industrial Toshiba on the other side of the table, connected by an Ethernet cable. Then labels simply started coming out. From my Mac, across the network, through that old machine. It was euphoric. I started to trust the process.
Later I found a Brother PT-1950 with its own keyboard, stored neatly in a case. LumenLabel could see something connected, but could not print yet. Two or three hours later, my own text, fonts and thin lines came out. Then I really did sit there looking at it for a moment: yes. It came out.
The test table. The Toshiba is at the back, on the network cable.
A sent print job does not make a good label.
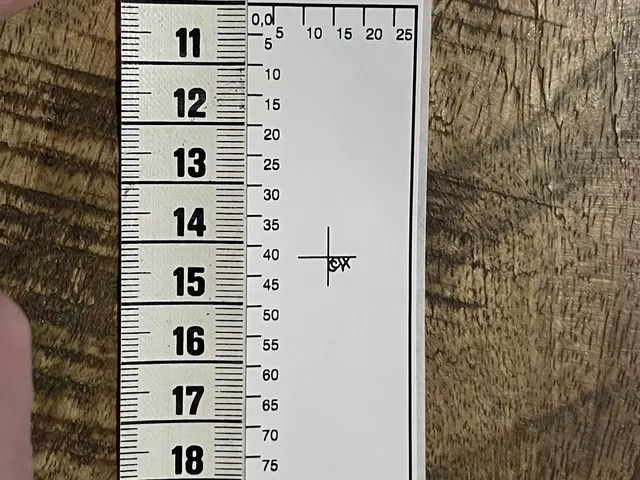
That is why ten different label printers are here now for physical testing. I check whether black is actually black, whether everything is in the right place, whether the direction is correct and whether anything gets cut off. Sometimes there is a pile of test labels and a tape measure beside it.
A small difference on screen can be obviously wrong on paper. In the end, I always look at what actually comes out of the printer.
Who builds LumenLabel.
I trained at art school and work as a filmmaker and colourist. That work uses complicated software whose actions still need to feel logical, no matter what happens underneath.
I cannot write every line of LumenLabel from memory. What I can see very clearly is where an action becomes illogical, which step is missing and what must eventually come out of the printer. AI helped me turn that into software that exists. Then the ordinary work remains: test, trace errors, print again and only continue once the label is right.
The name fits too. A lumen measures light, while a thermal printer makes parts of a label dark. Light and dark, black and white. It is surprisingly close to my usual work.
Koert at the test table.A test label with its own millimetre scale next to the tape measure. This is how the position gets checked.
Why the work stays on your computer.
Design, Data and Shipping run on your own computer. Names, addresses, product numbers and other label data do not need to be uploaded to a LumenLabel cloud while you design and print.
Designs are saved locally as .lld files. A data document can remember how fields connect to spreadsheet columns in an .lldx file. Designing and printing work without the internet; purchase, activation and periodic licence checks need a connection.
You buy LumenLabel once. You do not need a subscription to keep using your own printer.
For you, this story should be much shorter.
I can get very excited when an old Toshiba or Brother finally prints exactly what I made on screen. You should not need hours of research first.
Connect a supported printer, open your design or shipping label and print. Try the full app for 7 days with your own printer before paying. Print a few of your own labels and see what actually comes out.
We use Google Analytics to see which pages help and where people get stuck. Nothing is stored on your device unless you accept. You can change your choice any time under "Cookie settings" in the footer. Read the privacy statement.